2015 is for Ferns and Foxgloves
/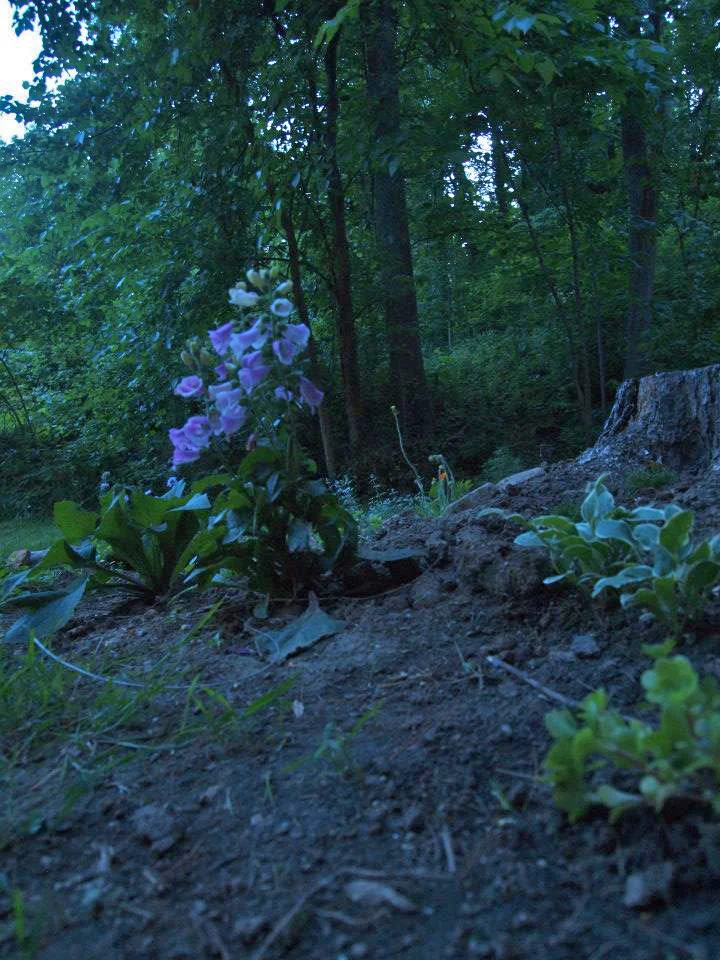
Foxglove Love...
It's about that time to start thinking about the garden for 2015. We've lived in our apartment for a couple of years, and this will be our third Summer spent on the garden.
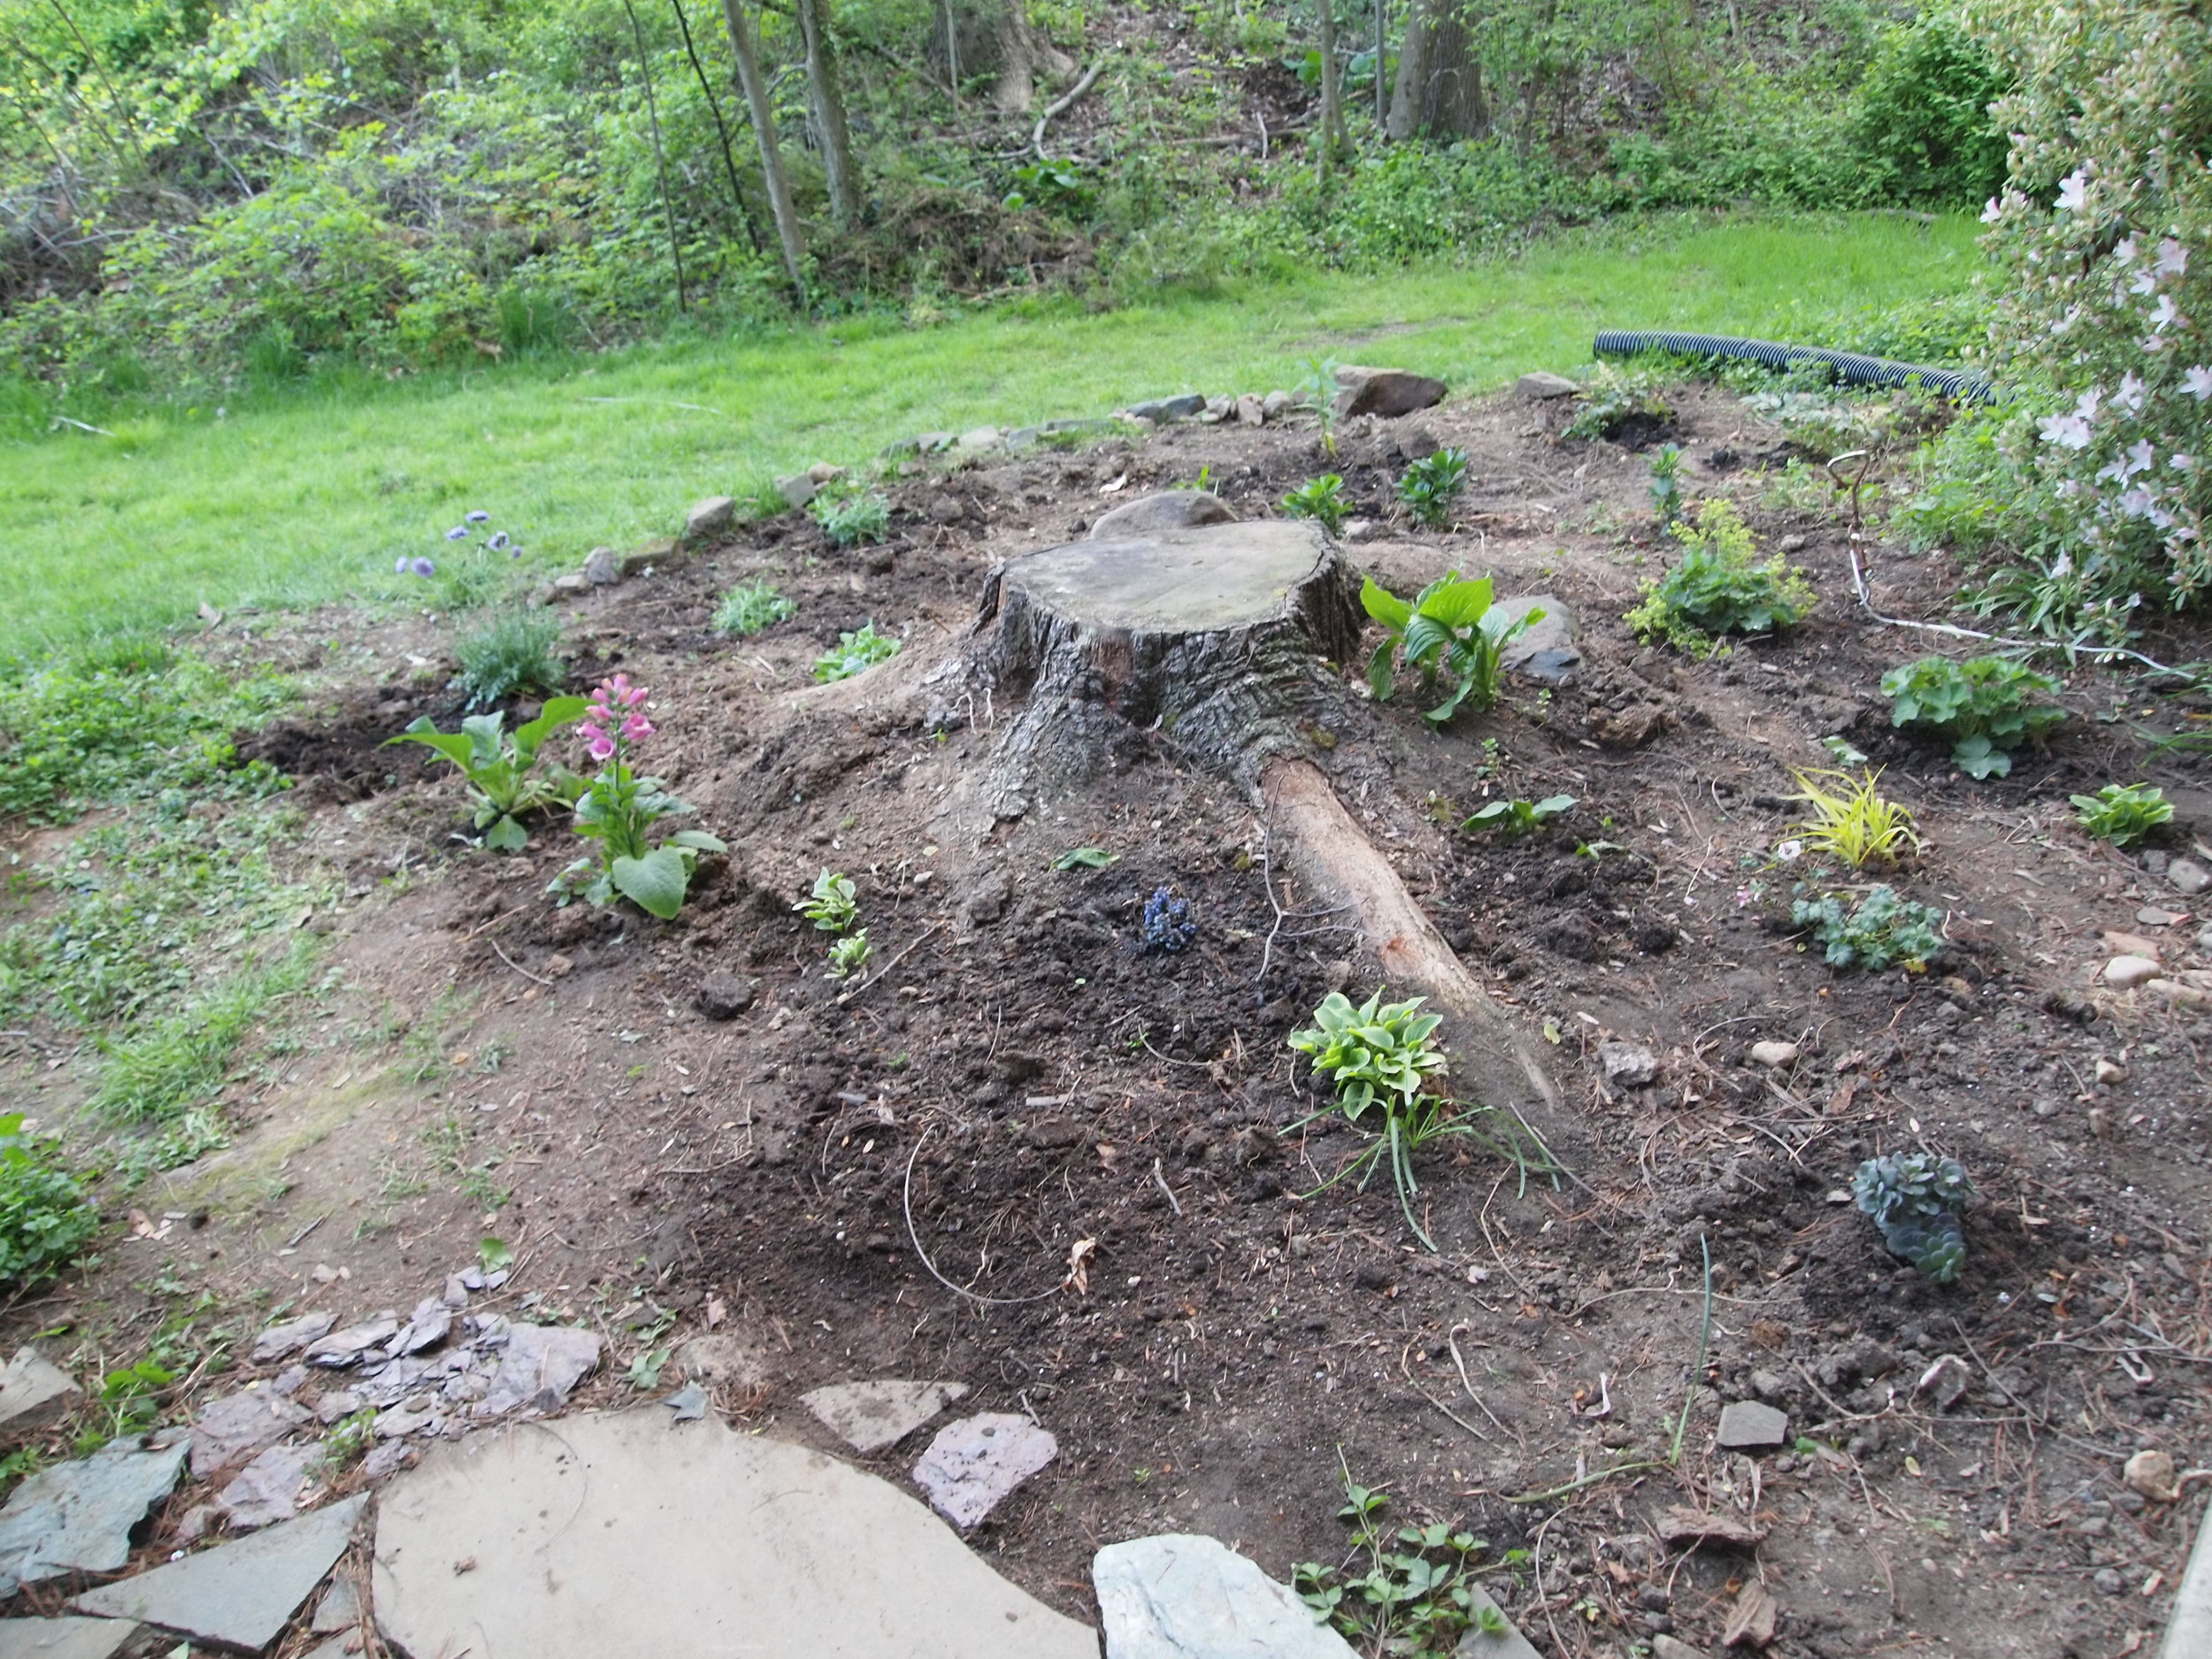
When we first moved in, it was obvious that the area had been planted before, but weeds, and ivy had taken over. We still struggle with some invasive weeds. Our garden surrounds a big stump, around the stump there is good soil full of organic matter, but as it moves away it gets a little heavy and filled with clay. The garden gets varying light because of the trees that surround the area, so we we've been hovering between plants that like part shade or part sun. Over the last two Summers we've been testing plants out and trying new things to see what grows well and what we like. I've resigned myself to the fact that we really are on the partial shade end of the spectrum and I need to stop wasting money on the plants that need more light.
Last winter was rough, we had a lot of snow and long freezes, and consequently we lost some plants we had planted the summer before. The things that stood the test were the toad lilies, hostas, and the perennial geraniums which flourished. This Summer, I'll try to split the established plants and spread the wealth without spending more money.
I'm hopeful that the native oak leaf hydrangea we planted in the summer of 2013 will come back this year. The hydrangea grew leaves but didn't bloom in 2014. This was a common problem in the area because of the hard winter; fingers crossed that it comes back.
Another shrub we added in 2014 was a rhododendron that I couldn't resist from Cylburn's Market Day. Even though I tried to tell myself that I shouldn't plant more shrubs since it's an apartment I couldn't resist the blooms, they look like scoops of ice cream! I kept that in a big pot, thinking I can take it with me when we move someday, so I'm also hoping that the cold air doesn't hurt that one too much.
On to the plan: this year I am going to SIMPLIFY. I'm focusing on hardy ferns and foxgloves.
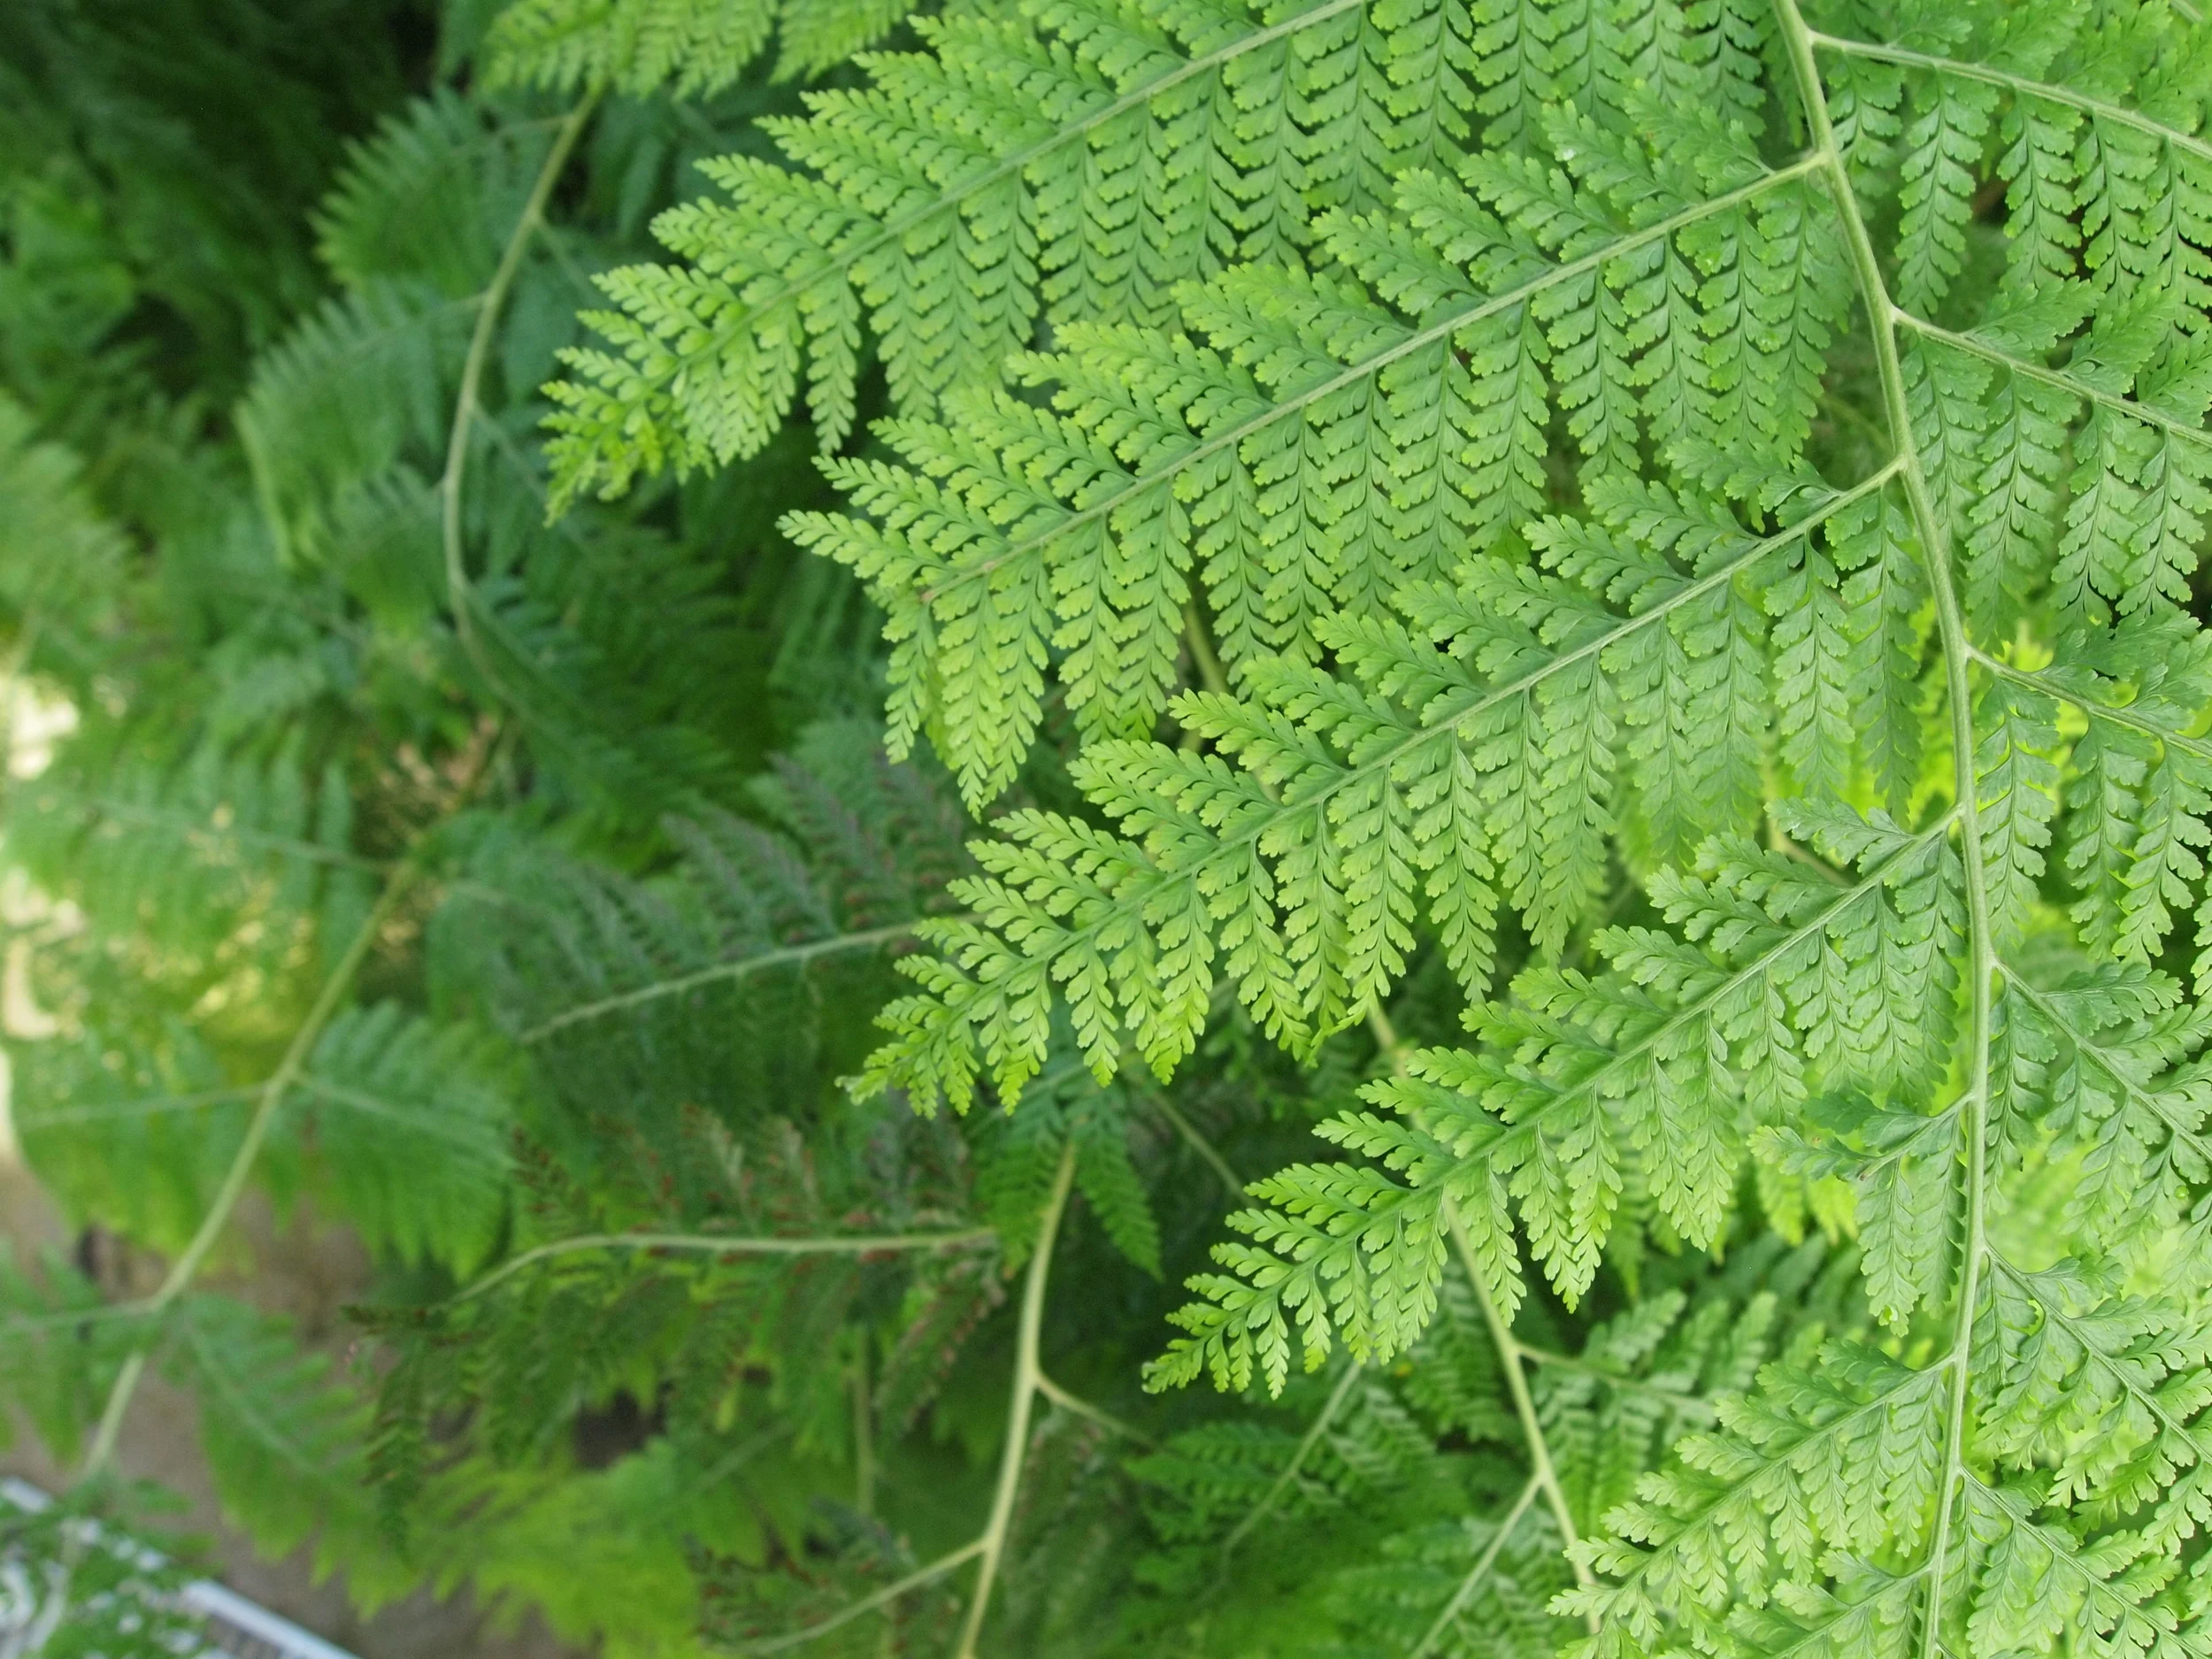
Ferns
What's not to love about ferns, they provide so much interest to shady areas. We have a few ferns, I'll continue to expand that collection, adding different sizes and textures to the mix. We currently have some Christmas Ferns and Ostrich Ferns. Here are a few that I'm thinking of adding to the collection.
"Thrill Seeker" Japanese Painted Fern from Plant Delights Nursery, Inc.
This one is good for zones 3a-8b, 20" tall and about 3' across. I like the texture of the fronds and the variegated, gray tips.
Dyce's Hybrid Shield Fern from Plant Delights Nursery, Inc.
This fern boasts deer resistance and easy reproduction. Two factors that I think are highly desirable. It grows about 24" tall, and is hardy in zones 4a to 7b.
Golden Mist Wood Fern from Plant Delights Nursery, Inc.
I'm a sucker for color, and this baby has yellow fronds! Living without full sun I need to seek color in other forms besides big showy flowers. This one has my name all over it. It comes in a bit shorter than the others, at 18" and grows in zones 5a to 8b.
Foxgloves
I'm really into foxgloves. I love the multiple blooms on one spike, the softly blended and changing colors as you go up the stalk, and the little polka dots on each bloom. I love to watch the bees crawl inside each blossom, specifically designed by nature to entice them; there is something so magical and fairytale-esque about them. I planted some over the past two summers, the first did not come back (I'm blaming this on the harsh winter) and we'll see about last year's. From what I've gleaned, Foxgloves are a biennial, meaning they have a two year lifespan and are easy re-seeders. Once you have a crop established they should re-seed and spread throughout your garden. I hope to add to this collection as well this year. I've been buying mature plants, but this year I'll attempt to add some I've grown from seed. I've read conflicting opinions on growing from seed and when you need to start them, so I've decided to just start them now and try it. What do I have to lose? If I've learned anything from the past few years of gardening, it's to experiment and try new things. There is no guarantee that it will work even if I follow every rule, so I'll try it my way and see what happens. I'm thinking of starting these seeds.
Camelot Rose Hybrid Foxglove from Park Seed
Rose colored blooms, and supposed to be a prolific first year bloomer. Zones 5-9 and grows between 3'-4' tall. The longer I can keep the foxgloves in bloom, the happier I am, and these promise to be long bloomers.
Yellow Spear Foxglove from Swallowtail Garden Seeds
These European heirloom foxglove seeds have been reselected to stay close to their original color, they change from chartreuse to yellow on it's spike. These are soft yellow, and pretty darn perfect.
Dalmatian Peach Hybrid from Swallowtail Garden Seeds
These claim to bloom in under four months from seed, so that sounds perfect for me. I also can't resist their luscious peach coloring and little contrast between the petals and their spots. I just want to lick them, they look like creamsicles!
Snow Thimbles from Swallowtail Garden Seeds
Pure white blossoms that naturalize in woodland gardens and are hardy to zone 4. If re-seeding goes as planned, this may be my low maintenance spreader that I've dreamed of!
Note: Foxglove seeds and foliage are toxic, so if you have small children or pets that like to eat plants I would keep these in an inaccessible area of your garden or out of it completely.
Garden Resolutions
I am going to try my best to stop buying plants that crave more sun, and buying random plants. Things look better when there are many of them, I know that, I just want to try everything! All in good time I guess, I won't have this space forever, I should work within it's limits and try new things when I have somewhere new to explore.
What are your garden dreams? Are you focusing on something in particular or you trying something new? Do you have fern or foxglove tips? Let us know in the comments!